


Acrylic signs can look polished or chaotic depending on how they're painted. The wrong paint slips, cracks, or just doesn’t stick. The right one blends in like it was always meant to be there. If you’re planning to hand-letter a few tabletop signs or paint the back of a transparent A-frame, the materials you use matter more than you think. There’s room for play, but there’s also a few paints we’d never touch. Let’s break down what actually works - no fluff, no guesswork.
Getting to Know the Surface You’re Painting On
Acrylic can be a little misleading. At first glance, it looks straightforward - but once you start painting, the surface tells a different story. Some sheets are glossy and slick, others are matte with a softer texture. That difference matters. Glossy acrylic usually needs sanding or priming to hold paint, while matte or frosted finishes have a bit more grip but still need a clean, oil-free surface to work properly.
Thickness also changes how paint behaves. Thinner sheets flex more, which can cause brittle paint to crack. Before you even open a paint bottle, take a moment with the material. Hold it up to the light, run your fingers across it. That quiet check-in does more than most labels ever will.
Paints That Actually Stick to Acrylic
Not all paint plays nice with acrylic. Some sit on top and smear the second you touch them. Others peel after a day. The ones that work - really work - tend to fall into a few solid categories. Here’s what we use (and trust) when painting on acrylic, whether it’s a one-off tabletop sign or something that needs to hold up outside.
- Acrylic Craft Paint: Straightforward and easy to layer. Works best on sanded or primed surfaces. Look for thicker, quality brands like DecoArt or Martha Stewart for better coverage.
- Oil-Based Paint Pens: Sharpie’s oil-based line is solid - crisp, permanent, and smudge-resistant. Use fine tips for lettering, thicker ones for bold shapes. Once dry, it stays put.
- Calligraphy Ink: Ideal for smaller signs or place cards. Paired with a nib, it gives cleaner lines than most markers. Dr. Ph. Martin’s inks and Nikko G nibs are solid go-tos.
- Spray Paint for Plastic: Best for full backgrounds or large areas. Just make sure it’s plastic-compatible. Light coats, even distance, and patience between layers make all the difference.
- Paint Markers (Non-Oil-Based): Okay for quick mock-ups but not long-term. Some water-based markers never fully set and wipe off easily. Test first before committing.
There’s no single “right” paint for every job - but there are a few wrong ones. Avoid chalk paint and latex wall paint, as they do not bond well to acrylic and are prone to peeling or chipping, even with sealing. Acrylic doesn’t forgive bad paint choices.
![]()
Why Signs and Mirrors Care About the Way Acrylic Signs Are Made
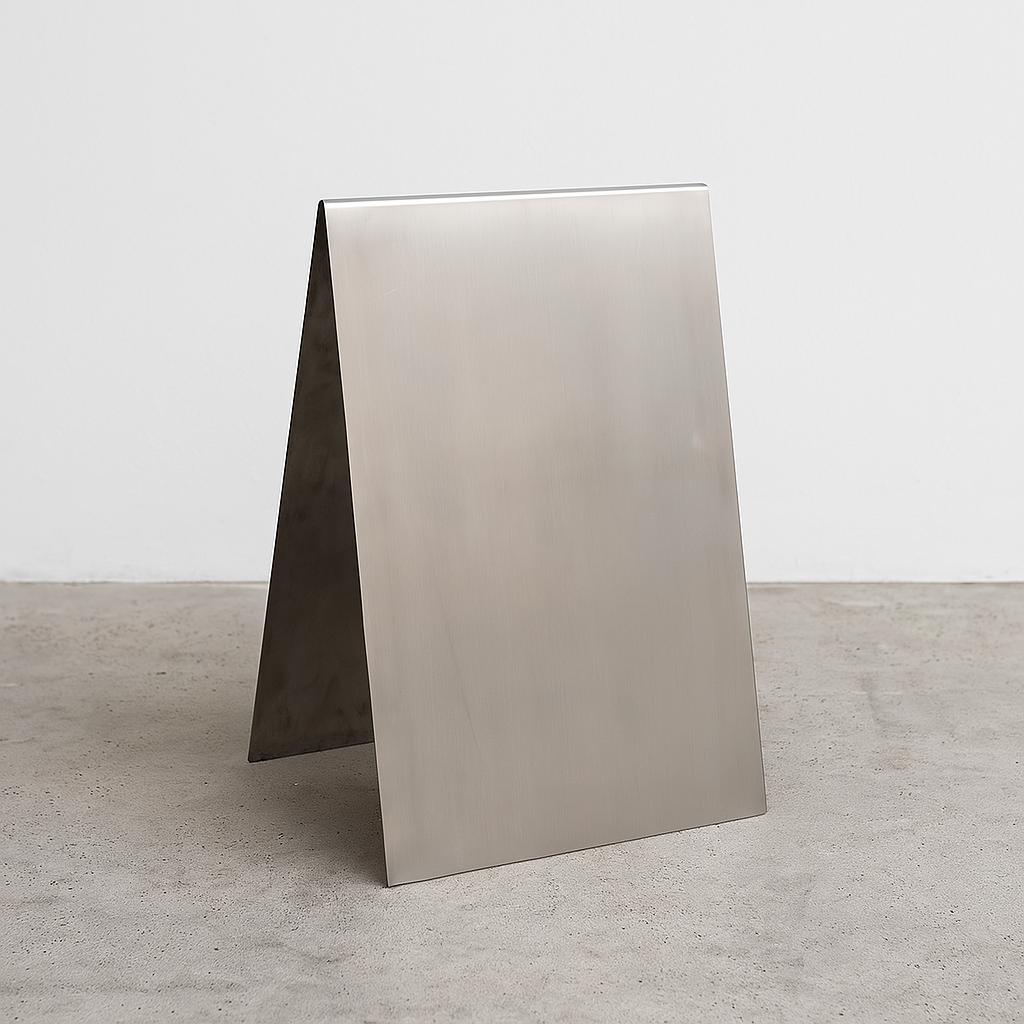
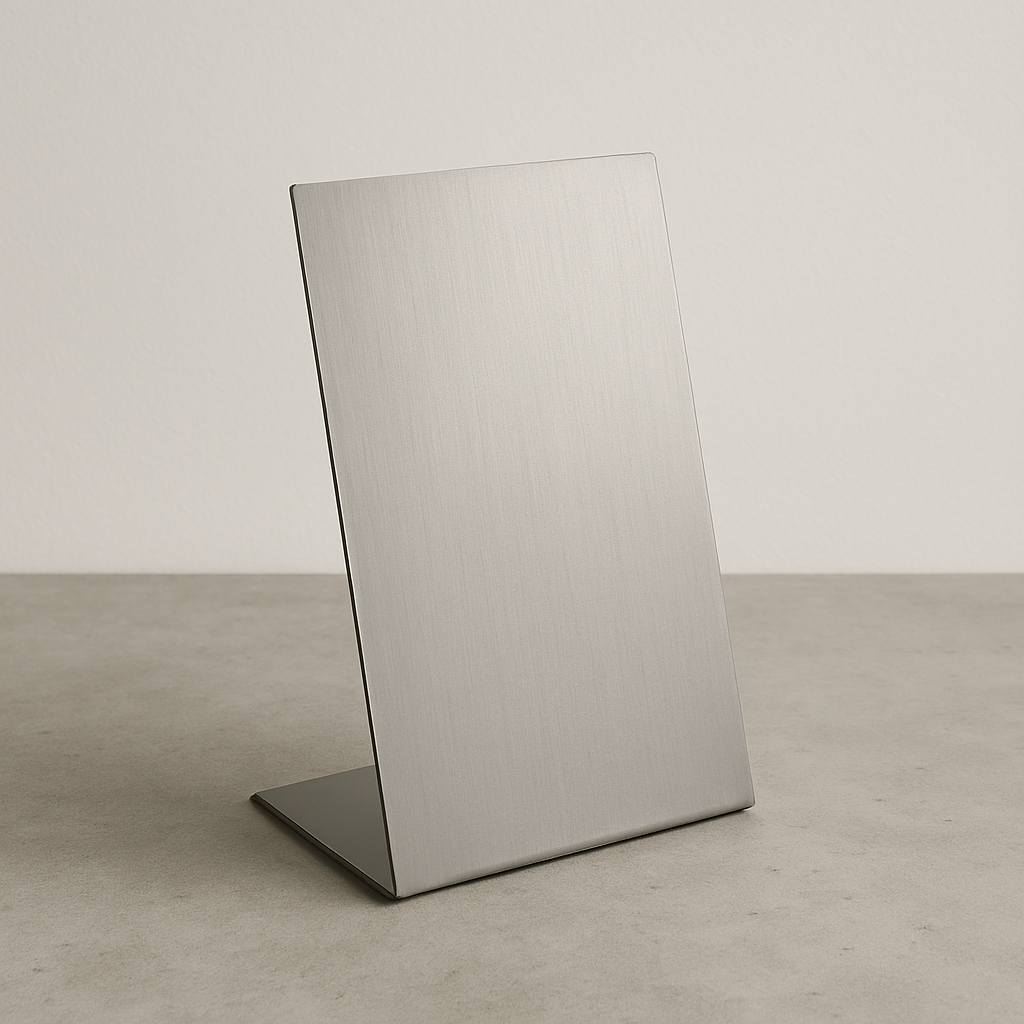
At Signs and Mirrors, we’ve spent years building signage that doesn’t just carry a message - it becomes part of the space. Every piece in our collection, from brushed stainless uprights to opaque acrylic A-frames, is designed to be simple, durable, and genuinely good-looking - front and back.
Painting is often the last step, and it needs to hold up - not just look good on day one. Our mirrored and acrylic signs are designed to take paint cleanly, whether you’re layering by hand or printing through us. No warping, no weird lift at the edges. We build for real use: retail counters, busy sidewalks, pop-up installs. It has to look sharp and stay that way.
Acrylic Sign Variants and Custom Options
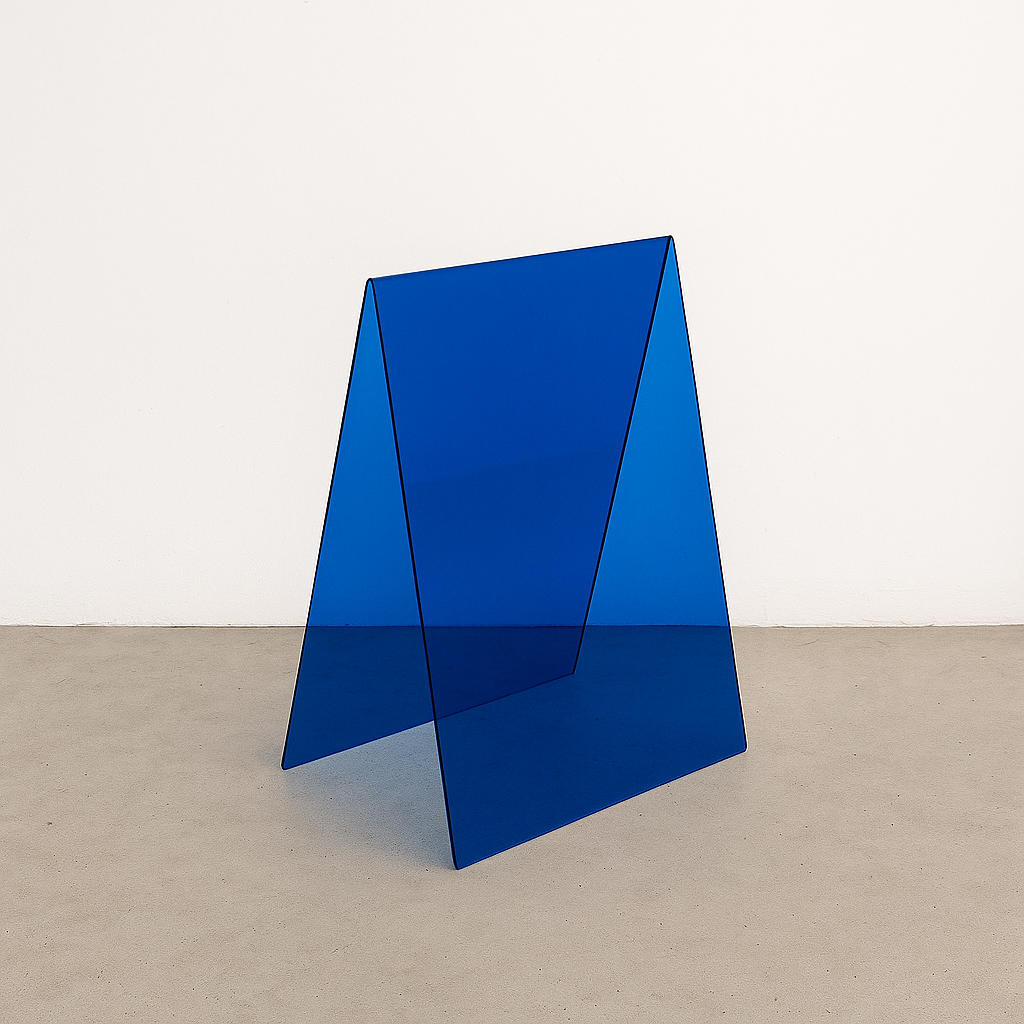
We offer two core styles of acrylic A-frame signs: transparent and opaque. Each is cut from a single sheet of high-quality acrylic and comes in multiple sizes, with custom sizing available on request.
- The Transparent Acrylic A-Frame is available in finishes like clear, clear matte, amber, bronze smoke, gray smoke, dark blue, light blue, green, light green, red, and yellow. Each option keeps a clean, see-through base and works well for layered or reverse-painted designs.

- The Opaque Acrylic A-Frame comes in solid high-gloss colors, including white, black, ivory, pink, and purple. These signs offer full surface coverage on both sides and make a bold canvas for direct painting or custom print.
You can see a lot of our collection in action on Instagram. Our signs show up everywhere - from fried chicken spots to fashion pop-ups and we’re constantly updating the feed with new builds, client installs, and behind-the-scenes. Whether you’re painting your own or ordering from us, the surface should work as hard as the message it carries.
All signs can be ordered blank or with your own design printed on both sides. If you're looking for something fully custom from the ground up, you can also build your own sign here. After checkout, we’ll send over a template and submission form for your artwork, followed by a digital proof before anything goes into production.
Start Clean or Regret It Later
Paint needs something to grip, and glossy acrylic isn’t exactly welcoming straight out of the box. If the surface is dusty, oily, or still covered in fingerprints, no paint is going to stick well - no matter how expensive it is. Start by giving it a proper clean: warm soapy water and a soft cloth are usually enough. Avoid anything too abrasive. Dry it off with something lint-free so you’re not painting over fuzz.
If you’re working with a super smooth finish, a quick pass with fine-grit sandpaper (around 600-800 grit) helps. You’re not trying to rough it up - just give the surface a bit of tooth so paint doesn’t slide around. For spray paint or anything that needs more help sticking, a plastic-friendly primer is a good step. Light, even coats - let it dry fully before layering anything else. Not the most thrilling part of the process, but if the base is off, the whole thing starts to fall apart.
Front vs. Back: Where the Paint Actually Goes
There are two ways to paint acrylic signs - on the front or the back - and each one gives a completely different finish. One feels more tactile, the other more polished. What you choose depends on how the sign will be used, and how you want it to feel in the space.
Front Painting
This is the more straightforward route - paint goes directly on the front face of the acrylic. What you see is what you get. It's great for textured strokes, quick signage, or anything that feels a bit more raw or hands-on. Just keep in mind: the paint sits exposed, so if it’s going to be handled a lot, it needs sealing.
When it makes sense:
- Casual signs or one-off pieces
- You want the brush texture to show
- You plan to seal or protect the front anyway
Reverse Painting
This one takes a little more thought. You paint on the back of a clear acrylic sheet, and the image is viewed through the front. It’s basically mirrored - details go down first, backgrounds last. The result is super clean, glossy, and protected without needing a topcoat.
Why people love it:
- The front stays smooth, even if the back is layered
- No risk of smudging once it’s dry
- Looks sharp and polished - great for display pieces
Which One’s Better?
Neither, honestly. It just depends on what you're making. At Signs and Mirrors, we lean toward reverse painting when we want a clean finish that’s protected from wear. But there’s a charm to front painting too - especially for quick signs that don’t need to be precious. One’s not more “correct” than the other. It’s just about how you want it to look and live.
Lock It In: Sealing the Paint So It Stays Put
Once the paint’s down and looking how you want it, sealing keeps it from getting scratched, smudged, or sun-faded over time. It’s the last step - but also the one that decides whether the sign holds up or slowly starts to flake. A few small choices here can make a big difference in how it wears.
- Use a clear spray sealant formulated for acrylic or plastic: Ensuring it is non-yellowing and UV-resistant, with the desired finish - matte for a soft look or gloss for shine.
- Don’t rush the drying process: Just because it feels dry to the touch doesn’t mean it’s cured. Wait it out. Sealing too soon traps moisture and can mess with the finish.
- Seal the edges, not just the face: The sides tend to take the most wear, especially with freestanding or handled signs. A quick edge pass helps it hold up longer.
- Avoid brush-on sealers unless tested first: Some can react with the paint and leave streaks or cloudiness. Spray tends to play nicer, especially on layered or detailed work.
- Check if it needs UV protection: For outdoor signs, this is non-negotiable. Not all sealants have it built in, so check the label before you commit.
- Add backing or framing for extra durability: A wood or second acrylic layer doesn’t just look good - it protects the paint job without having to overdo the sealing.
Where Acrylic Signs Actually Show Up
Acrylic signs aren’t just for storefronts or weddings. They work because they’re adaptable - clean enough for galleries, tough enough for sidewalks, and low-key enough to blend into just about any space. Below are a few spots where painted acrylic signs really earn their keep.
Retail Pop-Ups
Transparent or mirrored acrylic signs look right at home in pop-up settings. They feel temporary but polished - something you can fold up, move around, and still have it look intentional. A brushed paint layer on the back plus minimal lettering on the front? That’s often enough. Add a QR code or small logo and it’s ready to go.
Coffee Shops and Cafés
Menus, counter signage, bathroom wayfinding - small acrylic pieces do a lot in a compact space. Reverse painting works well here because it stays protected behind the surface, even with heavy hands and wipe-downs. Pairing a soft background with hand-lettered paint pens gives it that lived-in, not-too-precious feel.
Events and Weddings
Acrylic signs are everywhere at weddings now - welcome signs, table numbers, place cards, bar menus. The medium is clean but flexible, and with a little floral or texture behind it, you can make it feel warm without losing clarity. Smaller signs can double as keepsakes, especially if hand-lettered with names or notes.
Studios and Creative Spaces
For art studios, salons, or shared spaces, acrylic signs can define zones without feeling bulky. A painted edge or graphic on frosted acrylic gives structure without shouting. Mounting directly to glass or propping signs in minimalist stands keeps the footprint small but the look intentional.
Outdoor Use
If sealed properly, acrylic can hold up outside. Painted garden markers, sidewalk signage, or directional signs for events all work. Just keep the sealing tight and avoid letting water pool around the paint edges. You’ll get solid mileage, even in less-than-perfect weather.
Conclusion
There’s no one-size-fits-all answer when it comes to painting acrylic signs - but there are definitely a few wrong turns you can avoid. The paint you choose matters, sure, but so does how you prep the surface, how many coats you rush (or don’t), and whether you’re painting the front or the back. We’ve tested enough materials in our studio to know that most mistakes happen before the brush even touches the sheet. Get the surface clean. Use paint that was meant for acrylic. And don’t skip the sealing unless you’re okay with touch-ups later. Whether you’re making one sign or twenty, the right paint just makes the whole thing less frustrating - and better looking.
FAQ
Can I use regular wall paint on an acrylic sign?
You can, but it won’t last. Most wall paints don’t bond well to plastic, so even if it looks fine at first, it’ll likely chip or peel. Acrylic craft paint or oil-based markers are a safer bet.
Do I really need to sand the acrylic first?
If it’s glossy, yes. A light sanding gives the paint something to grip. It doesn’t need to look scuffed - just enough texture so the surface isn’t totally smooth.
What if I mess up the design halfway through?
If the paint’s still wet, a damp cloth or rubbing alcohol should lift it. Once it’s dry, you might need to gently sand it off and start fresh. Mistakes happen - don’t panic.
Can I paint both sides of the sign?
Technically, yes. Just make sure your layers are planned. Reverse painting is usually for clean, polished fronts. If you add something on the face later, test it first to avoid lifting the back layer.
Is sealing always necessary?
Not always, but if the sign will be outside, touched often, or transported a lot - definitely. Spray sealers keep things from smudging and add a bit of UV protection if you pick the right one.