


Acrylic signs catch the eye at weddings, storefronts, and craft markets, but the surface is unforgiving. A fingerprint can ruin adhesion, a harsh cleaner clouds the finish, and the wrong pen either rubs off in a day or refuses to budge. The difference between a crisp, professional result and a scratched-up mess is a short, reliable routine. This guide covers every step: cleaning, guiding, writing, and fixing mistakes with tools that pros actually use.
Why Acrylic Demands Special Care
Acrylic starts life as a glossy, lightweight alternative to glass, but it picks up damage fast. Static pulls in dust particles that embed under ink layers. Natural oils from fingers create invisible barriers, causing paint to bead or skip. Solvents like ammonia etch microscopic pits over repeated cleanings, leading to a hazy film that no polish removes. One deep scratch from a paperclip or ruler edge reflects light and draws the eye away from the lettering. Handling the material with intention from the first touch prevents most headaches later.
Thickness plays a role too. Thin sheets at 1/16 inch flex and warp under pen pressure, while 1/8 inch stays rigid for smooth strokes. Anything thicker than 1/4 inch feels heavy for handheld signs or ornaments. Clear acrylic shows every imperfection; colored or frosted versions hide minor flaws but demand opaque inks for visibility.
![]()
DIY Isn’t for Everyone - Here’s Our Ready-to-Go Acrylic Collection
At Signs and Mirrors, we craft signs that stay sharp and durable, whether they’re out on the sidewalk, in a storefront window, or stored between events. Our full acrylic collection features freestanding styles in mirrored, clear, and solid finishes, all hand-cut and assembled in New York. If you need something portable, photogenic, or simply made with precision, chances are it’s in there.
You’ll find real-world installs across our Instagram, with photos from photoshoots, stores, and customer locations. And if DIY sounds overwhelming right now, here are a few ready-made acrylic pieces from our collection that ship immediately or can be customized with ease.
Top Picks From Our Collection
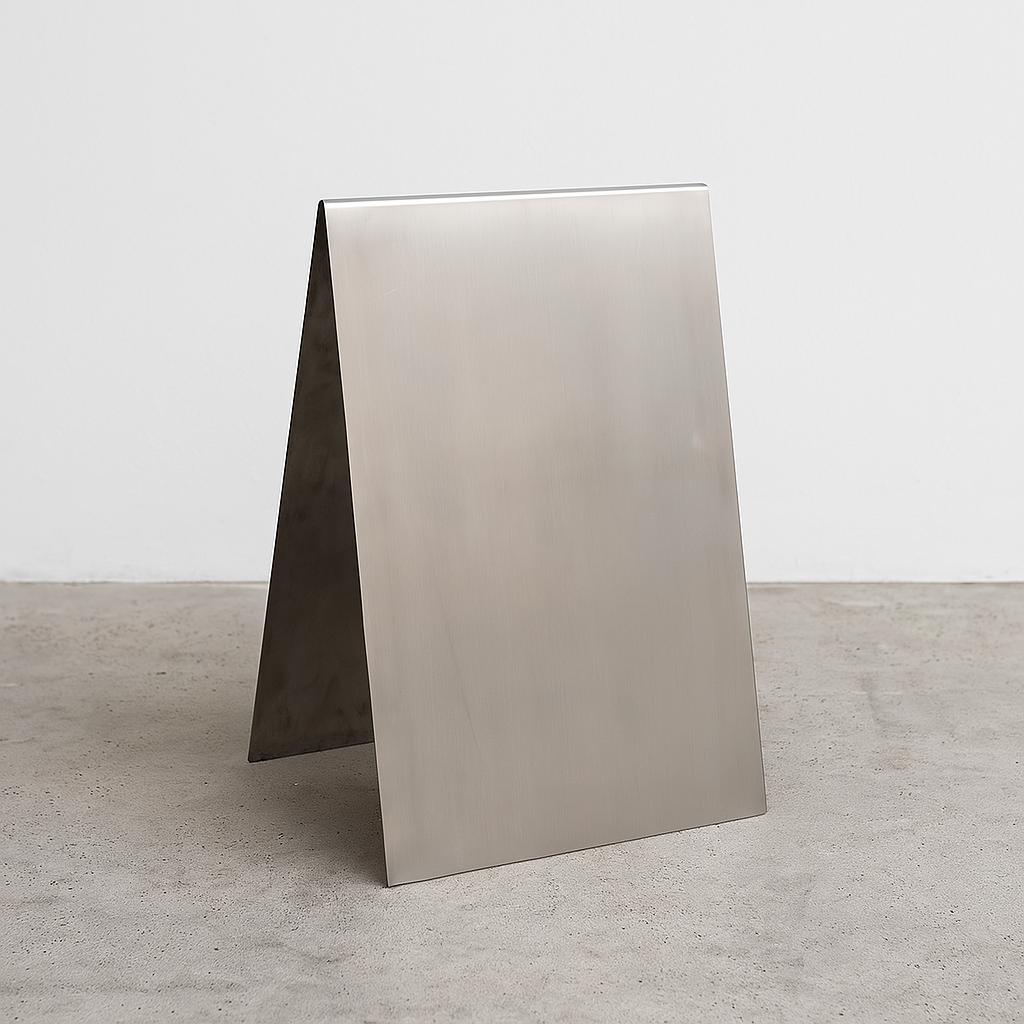
- #009 Transparent Acrylic A-Frame is formed from one seamless sheet of glossy acrylic, feather-light yet sturdy, and comes in clear, matte orange, smoke green, and more. It’s the go-to for pop-ups, cafés, or windows where the view behind the message should still shine through.

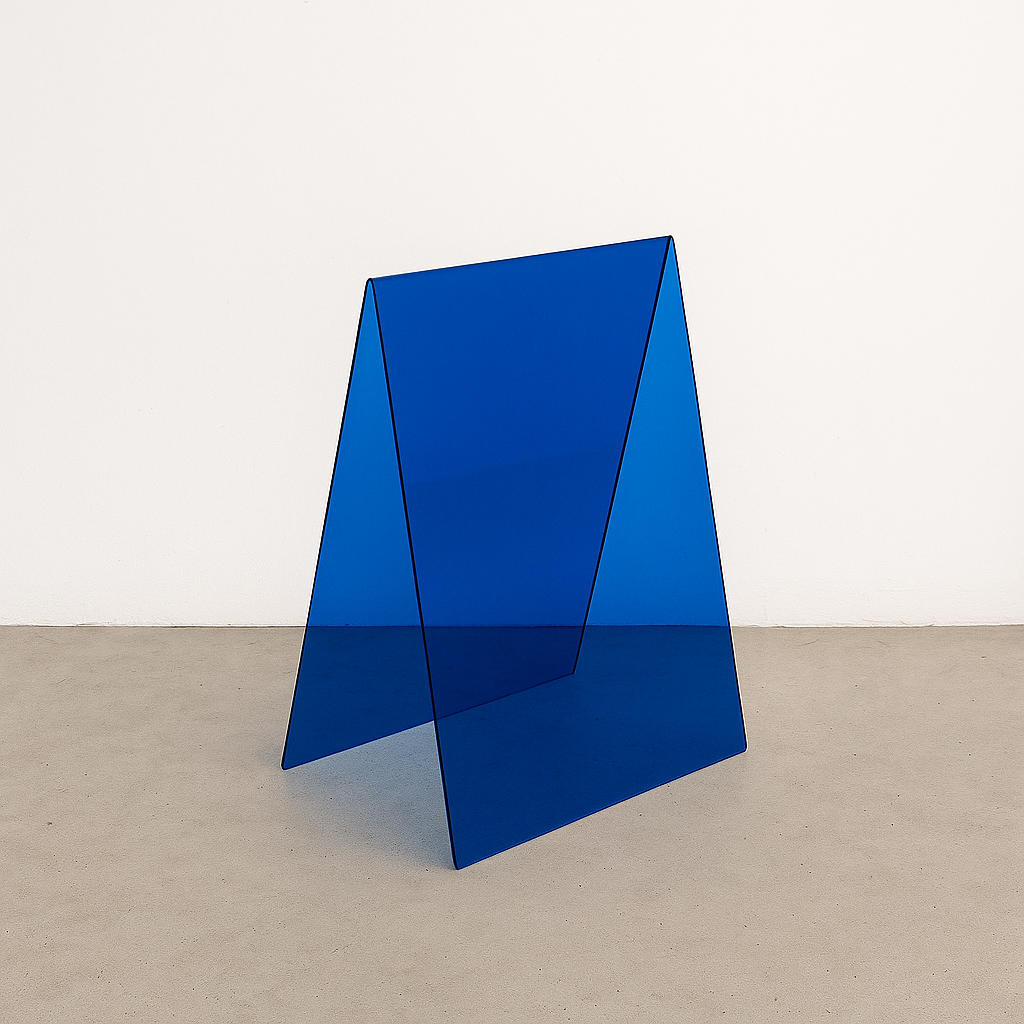
- #010 Opaque Acrylic A-Frame offers a solid high-gloss face on both sides, available in black, white, ivory, pink, or purple. It’s ideal for bold menus, wayfinding, or any spot that demands instant curb appeal.

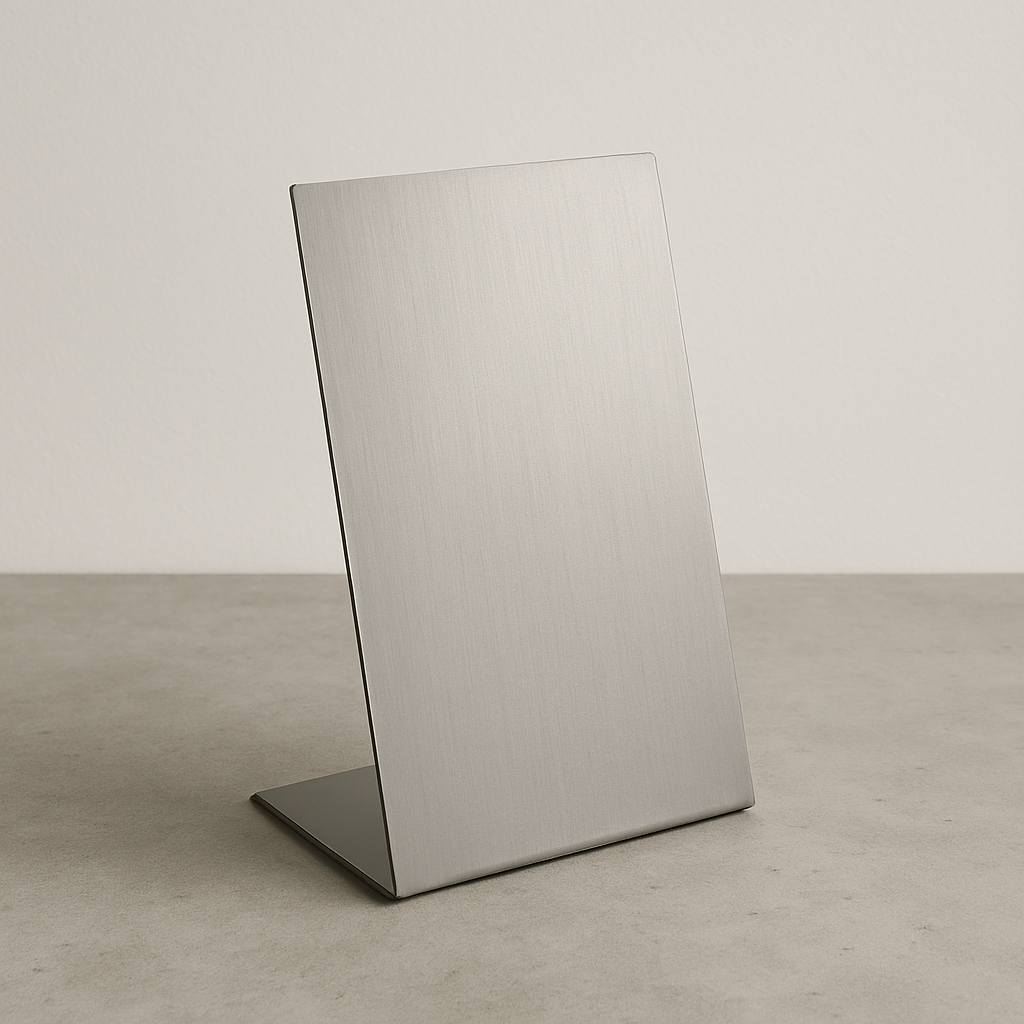
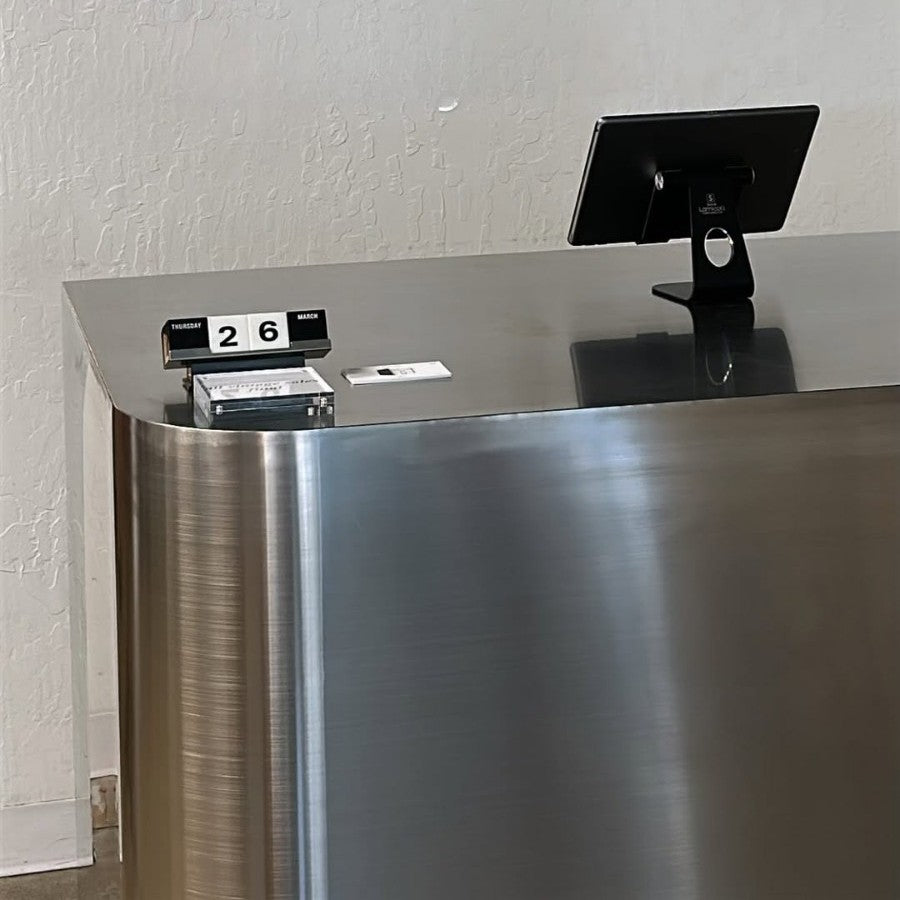
- #027 Transparent Acrylic Table Top Stand is a sleek, compact clear stand in 6x4 or 9x13.25 inches, perfect for counters, shelves, or reception desks where a minimalist sign keeps the focus on the words.
Gather Tools Before Starting
A dedicated kit keeps projects moving without interruptions. Organize supplies in a plastic bin with compartments.
Essential items include:
- Acrylic blanks in various sizes (round ornaments 3 to 3.5 inches, rectangular signs 8x10 inches or larger)
- Lint-free microfiber cloths, at least three per project
- Grid paper pads and soft mechanical pencils
- Mild dish soap in a small spray bottle mixed with water
- Masking tape in 1-inch width
- Paint pens across categories (chalk, water-based, oil-based, acrylic-based)
- Q-tips, mineral oil, and coconut oil for corrections
- Canned air or soft makeup brush for dust
- Craft foam sheets for storage
- Ribbons, twine, or velvet strips for hanging
Stock extras of favorite pen colors. Tips wear out after ten to fifteen signs, so rotate fresh ones midway through big orders.
Clean the Surface Properly
Preparation sets the foundation. Protective film on new blanks shields during cutting and shipping; peel only the working side.
Step-by-Step Cleaning Process
- Remove loose debris: Hold the sheet at an angle and blow dust away with canned air. Avoid breathing on the surface; moisture droplets attract more particles.
- Initial wipe: Fold a microfiber cloth into quarters. Dampen one section lightly with plain water. Wipe in overlapping straight lines from top to bottom. Flip to a dry section and buff gently.
- Degrease: Mix a small amount of mild dish soap with water and apply to a fresh cloth section. Wipe the same direction to dissolve oils. Excess liquid pools at edges and seeps under film, so use sparingly.
- Final inspection: Hold the acrylic under bright light at eye level. Tilt to spot streaks or lint.
- Air dry: Rest the sheet on a clean towel for one minute. Touch only the edges from this point forward.
Paper towels leave fibers that cure under paint and create bumps. Dish soap works in a pinch but requires thorough rinsing to prevent residue.
Plan the Layout First
Random placement leads to crooked text and wasted blanks. Guides ensure balance and professionalism.
Clear acrylic allows underlay templates:
- Print or hand-draw the design at actual size.
- Center the paper on the work surface.
- Place the acrylic directly on top.
- Secure all corners with masking tape loops (sticky side up under the sheet).
Opaque acrylic requires surface sketching:
- Use a white wax pencil for visibility.
- Draw baseline, x-height, and cap lines lightly.
- Erase test marks with a damp cloth to check for ghosting.
Grid paper tracing combines both worlds. Outline the sign shape on gridded sheets, then sketch letters within squares for even spacing. Slide the grid under clear acrylic or trace onto opaque.
Choose the Right Marker for the Job
Pen selection hinges on lifespan and removal needs. Four main types cover every scenario.
Chalk Markers
Thick bullet tips produce bold lines. White shows best on dark acrylic; pastels work on clear with black backing paper. Ink dries to a powder finish that wipes away dry. Monthly calendars or daily specials stay flexible.
Water-Based Paint Pens
Medium flow creates sharp edges. Colors layer without muddling. Light scrubbing with ammonia-free glass cleaner erases completely. Wedding timelines or reusable directional signs benefit from this balance.
Oil-Based Paint Pens
Fine tips allow detailed calligraphy. Shake vigorously for thirty seconds, then depress on scrap until paint saturates. Coverage builds opaque in one pass. Handling, humidity, and gentle washing leave letters intact. Ornaments and retail displays demand this durability.
Acrylic Paint Markers
Pigment suspends in acrylic medium for toughest bond. Multiple sizes suit flourishes or block letters. Cure time reaches twenty-four hours for full hardness. Permanent installations and outdoor menus rely on these.
Test new pens on acrylic scraps. Flow varies by batch; some need extra priming.
Master the Writing Technique
Technique separates hobby work from portfolio pieces. Practice strokes build muscle memory.
Basic Calligraphy Strokes
- Downstrokes: Apply steady pressure for thick lines.
- Upstrokes: Ease off to hairline thinness.
- Ovals: Rotate wrist for smooth curves.
- Transitions: Lift slightly between strokes to prevent blobs.
Start with monoline lettering if calligraphy feels intimidating. Outline letters, then thicken downstrokes on a second pass. Oil-based pens require slower speed; paint keeps flowing after pressure releases.
Angle the pen at forty-five degrees. Perpendicular tips dig in and skip. Keep elbows off the table to reduce shake. Rotate the acrylic instead of the body for circular designs.
Cure and Seal the Work
Drying turns wet paint into a tough skin. Chalk needs minutes; water-based around thirty. Oil-based requires four to six hours for touch-dry, twelve for handling. Acrylic markers reach full cure in twenty-four hours.
Stand signs upright on edge supports. Flat drying collects dust specks. Avoid heat lamps; rapid temperature shifts crack thick layers. Once cured, letters resist fingernail scratches and light abrasion.
Add Finishing Touches That Elevate
Small details push signs from craft to custom.
- Back painting: Brush thin craft acrylic on the reverse side. White backs make front letters glow; metallics add shimmer.
- Edge finishing: Flame-polish cut edges with a heat gun for glass-like smoothness (professionals only).
- Hanging hardware: Drill two small holes for ribbon. Satin, velvet, or twine loops suit different styles.
- Layering: Stack smaller acrylic shapes over larger bases for dimension.
Final cleaning uses a microfiber barely dampened with distilled water. Spritz the cloth, never the sign.
Store and Transport Safely
Finished pieces need protection. Separate layers with acid-free tissue or craft foam. Store flat in drawers or upright in slotted boxes. Temperature swings warp thin sheets; keep between sixty and eighty degrees Fahrenheit.
For shipping:
- Wrap each sign in bubble wrap, shiny side out.
- Fill box voids with packing peanuts.
- Label "Fragile - Do Not Bend" on all sides.
- Insure for replacement value.
Turn Skills Into Sales
Hand lettering on acrylic commands premium pricing. Small ornaments retail twenty-five to thirty-five dollars. Eight-by-ten welcome signs fetch eighty to one hundred twenty. Offer add-ons: custom colors, ribbon upgrades, or gift boxes. Photograph against neutral backdrops with soft window light for online listings.
Bundle themes sell faster:
- Wedding suite (welcome, seating, bar menu)
- Holiday trio (Merry Christmas, family name, year)
- Business set (open hours, social handles, QR code)
Track material costs per sign to maintain margins. A single blank plus pen usage runs under five dollars.
Final Checklist Before Delivery
Run through this list for every piece:
- Ink fully cured (no tackiness)
- No dust specks or fingerprints
- Edges free of protective film
- Hanging elements secure and knotted
- Packaged with care card (avoid direct sun, clean with damp cloth only)
Conclusion
Writing on acrylic rewards patience and the right tools. Clean thoroughly, guide accurately, select markers matched to permanence needs, and cure completely. The result is signage that looks expensive, lasts as required, and wipes clean when the message changes. Start small with practice blanks, refine the process, and soon every letter lands perfectly on the slick surface.
FAQs
What pen works best for reusable acrylic calendars?
Water-based paint pens like Posca erase monthly with ammonia-free cleaner and light pressure, leaving no scratches if a soft cloth is used.
How to remove oil-based paint without damaging the sign?
Dab mineral oil on a Q-tip, let it sit for ten seconds, then twist gently. Wipe residue with a clean microfiber. Avoid scrubbing.
Can regular Sharpie markers stay on acrylic outdoors?
Standard permanent markers fade in sunlight and crack over time. Oil-based paint pens withstand weather and handling much longer.