


Acrylic signs catch eyes in lobbies, on storefronts, and along highways, but dust, fingerprints, and weather grime build up fast. A quick wipe with the wrong cloth or cleaner can leave permanent scratches or cloud the surface. The fix is simpler than most people think: a few household items, gentle pressure, and a consistent routine. What follows is a straightforward playbook that works for small office plaques and large outdoor panels alike, based on advice straight from sign fabricators and years of keeping installations crisp.
Why Bother Cleaning Acrylic Signs Regularly
Grime builds quietly and hits hard. Dust mixes with humidity to form a sticky film that etches tiny pits over time. Outdoor signs face pollen, exhaust soot, and acid rain that yellow the edges. Indoor panels collect skin oils from every passing touch, smudging letters until the message fades. Regular cleaning restores clarity, prevents permanent haze, and catches mounting issues early. A spotless sign signals attention to detail; a foggy one suggests the whole operation runs sloppy.
Everyday Supplies That Actually Work
Keep the kit basic and ready in a drawer or janitor cart. No need for specialty shelves.
- Water: Lukewarm from the tap, never hot (heat warps thin sheets).
- Soap: One drop of plain dish liquid in a quart of water. Avoid anything with aloe, bleach, or citrus oils.
- Cloths: Pack of microfiber towels, washed without fabric softener. Grab three per job - one for dusting, one for washing, one for drying.
- Extras: Distilled water in a small spray bottle, soft natural sponge for flat panels, telescoping pole with microfiber head for height.
Test any new cloth on a fingernail first; if it snags, toss it.
![]()
Keeping Your Acrylic Signs Spotless: Tips from Signs and Mirrors
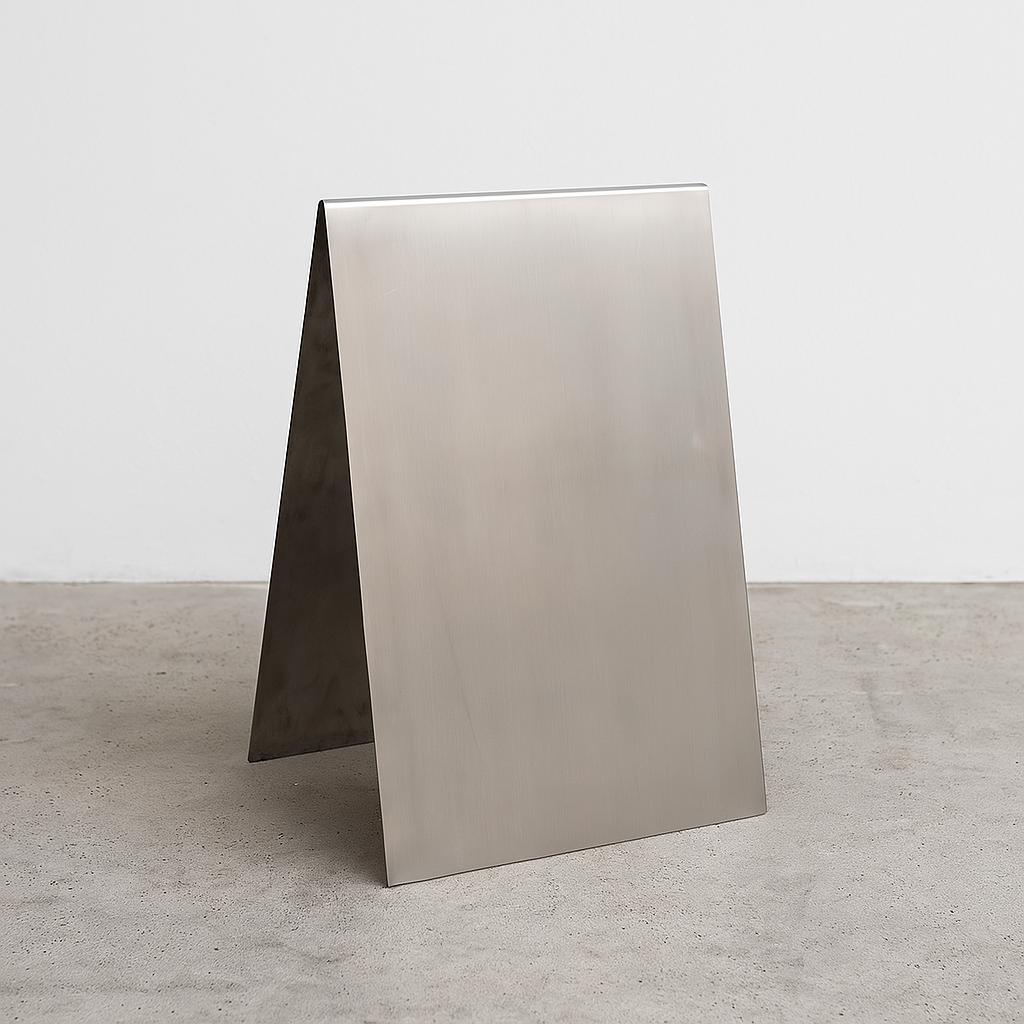
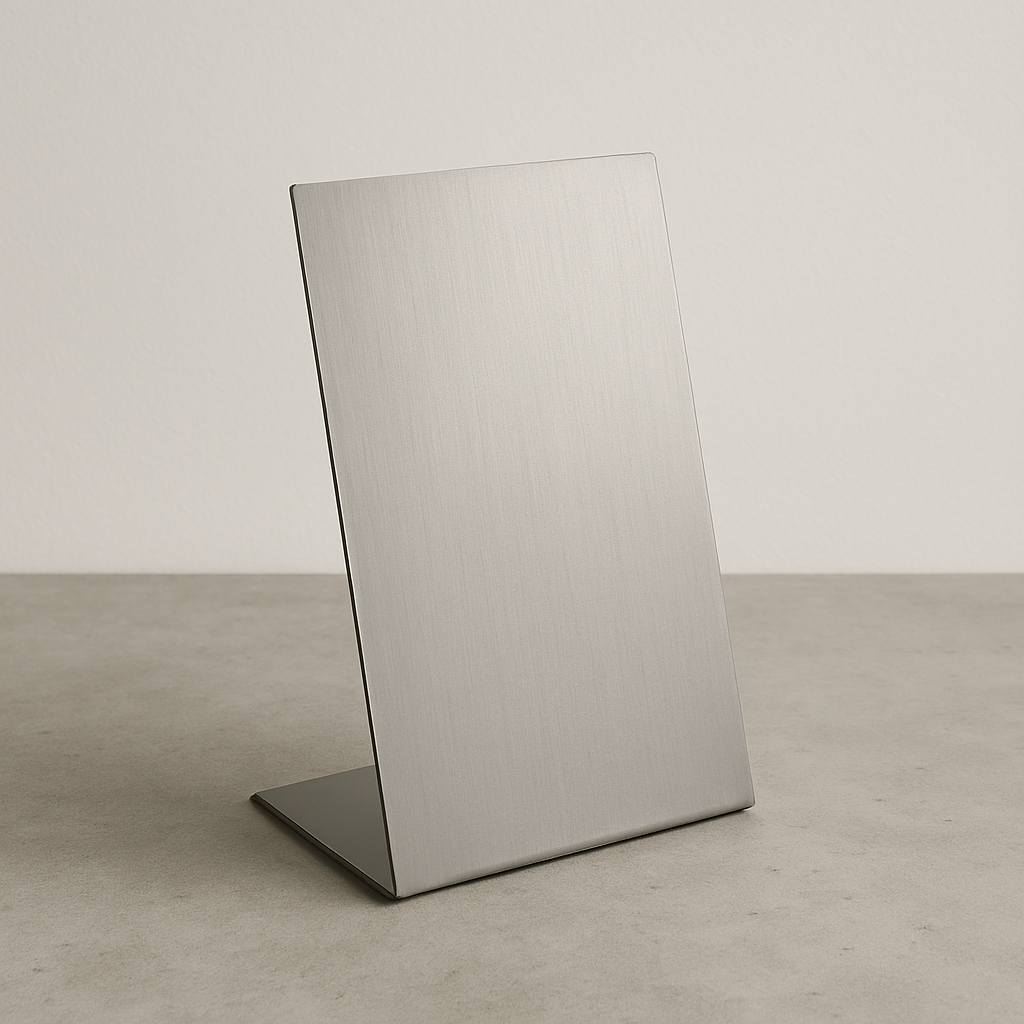
At Signs and Mirrors, we build acrylic A-frames that blend right into the rhythm of city life - think a transparent board outside a Williamsburg coffee spot catching morning light or an opaque black one framing chalk specials at a Soho eatery. Every piece in our collection, from brushed stainless uprights to opaque acrylic A-frames, is designed to be simple, durable, and genuinely good-looking - front and back. Every sign leaves our Chelsea studio ready for real-world use: sidewalk foot traffic, quick chalk swaps, and the occasional rain splash. We focus on clean lines, sturdy folds, and surfaces that take paint or prints without fuss. Customers tell us the pieces still turn heads months later, and that starts with smart upkeep.
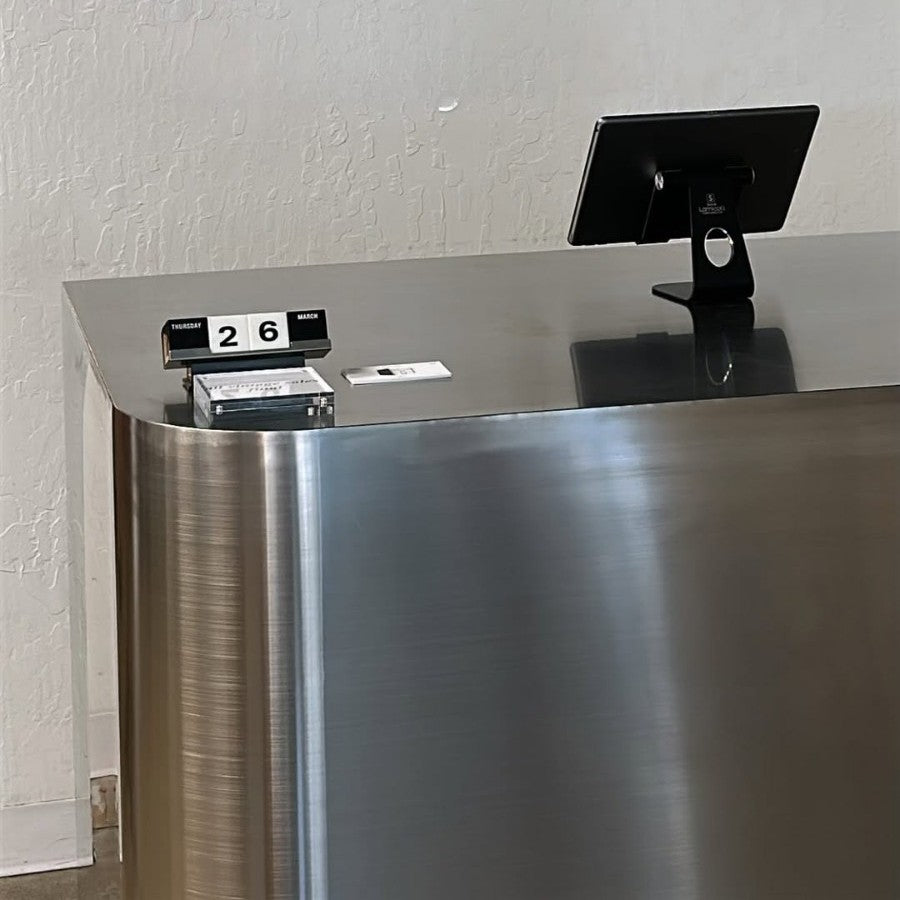
Our Instagram feed is packed with real installs: a mirrored stainless board at a fried chicken joint, a clear matte A-frame outside a yoga studio, chalk menus refreshed daily at brunch spots. Scroll through and spot the same clean edges and vibrant tints we ship out.
Spotlight on a Few Favorites

- #009 - Transparent Acrylic A-Frame Sidewalk Sign: Clear matte finish, 24x36 inches standard. Customers love the soft diffusion - no harsh reflections under shop awnings. Pair it with white vinyl for reverse readability or chalk markers that wipe clean in seconds.

- #005 - Mirrored Acrylic A-Frame Sandwich Board Sign: High-gloss mirror on both faces, pink or white opaque edges optional. Doubles as a reflective photo backdrop for events; chalk shows up bright, erases without ghosting.
Step-by-Step for Small Indoor Signs
Small signs in offices or stores stay within arm's reach, which makes them easy to clean but also easy to damage with rushed habits. The key is a slow, deliberate process that removes dirt without grinding it in. Break it down into clear stages, and the whole job finishes in under ten minutes.
Dry Dusting to Start Clean
Begin with a completely dry microfiber cloth. Fold it into quarters for fresh sides as needed. Gently sweep from the top edge downward in straight lines or soft S-curves. This lifts dust, hair, and loose particles before any water touches the surface. Skipping this step turns tiny grit into sandpaper during the wet phase. For wall-mounted signs, tilt the head slightly to let debris fall to the floor instead of resettling lower down.
Preparing the Mild Soap Solution
Fill a small bowl or spray bottle with lukewarm water - think baby-bath temperature, not hot. Add exactly two drops of unscented dish soap. Swirl by hand to mix; vigorous shaking creates too many bubbles that dry into streaks. The solution should feel slippery between fingers but look almost clear. Too much soap leaves a hazy film that attracts more dust later. Keep the mix fresh; remake it for each cleaning session to avoid bacterial growth in standing water.
Gentle Washing Technique
Dampen one microfiber cloth in the solution, then wring firmly until no droplets fall when held over the sink. Start at the upper left corner and work in overlapping circles about six inches wide. Use the weight of the hand only - no elbow pressure. Flip or refold the cloth every few passes to expose a clean section. If the sign has raised letters or standoffs, wrap the cloth around a finger to get into crevices without snagging. Change to a fresh cloth if the gray buildup becomes visible.
Thorough Rinsing to Remove Residue
Grab a second microfiber cloth and wet it with plain lukewarm water, wrung the same way. Repeat the circular motion, following the exact path used during washing. This lifts any remaining soap film that could dry cloudy. Pay extra attention to edges and corners where suds hide. A single pass usually suffices, but a quick second rinse guarantees no streaks under overhead lights.
Immediate Drying for a Spot-Free Finish
Use the third dry microfiber cloth right away - water spots form in seconds on acrylic. Pat gently rather than rub to avoid static that pulls dust back. Work from top to bottom again, buffing in small sections. For extra shine, finish with a clean, dry corner in light, rapid figure-eight motions. If the sign sits near HVAC vents, a final pass after five minutes catches any condensation that sneaks out.
Special Notes for Backlit or Electrical Signs
Tape painter's tape along LED strips or power cords before wetting. Wipe the frame separately with a barely damp cloth to prevent moisture from seeping into seals. Let electrical components air for ten minutes post-cleaning, then test lights to confirm no fog inside the housing.
Handling Large Outdoor Panels
Big signs demand reach and caution. Safety beats speed.
Start low-tech:
- Hose on gentle shower setting from ground level.
- Stand back six feet to avoid concentrated streams.
Move to hands-on:
- Bucket of soapy water, long soft-bristle brush on an extension pole.
- Scrub top to bottom in vertical strips.
- Rinse each strip before soap dries.
Finish with inspection:
Walk the perimeter. Look for cracks at screw holes, faded paint at south-facing edges, or bird-nest debris tucked in corners.
Tackling Tough Marks Without Damage
Some stubborn spots - fingerprint oils, tree sap, sticker residue, marker ink, or paint overspray - simply laugh in the face of basic soap and water. These require targeted techniques to remove them without scratching, etching, or dissolving the underlying acrylic or vinyl surface. Always work gently, test in hidden areas, and prioritize non-printed sections, as printed vinyl graphics can dissolve rapidly under solvents.
Fingerprint Oils on Blank Acrylic
Oils from fingers transfer easily to smooth acrylic, creating smudges that distort clarity.
- Lightly mist one corner of a clean microfiber cloth with distilled water (never soak the cloth or spray directly on the surface to avoid seepage).
- Dab the oily spot repeatedly with the damp corner - avoid rubbing or scrubbing, which can grind particles into the surface.
- Immediately rinse the area with a microfiber dampened in distilled water.
- Dry thoroughly with a fresh, dry microfiber in straight strokes to prevent streaks.
Tree Sap or Sticker Goo
Sap hardens into a tacky film; sticker adhesive leaves gummy patches. Heat and moisture soften them for safe removal.
- Mix warm (not hot) water with a few drops of mild dish soap.
- Soak a soft cloth in the solution, wring it out until just damp, and lay it flat over the spot for exactly three minutes to soften the residue without over-wetting.
- Gently peel the loosened material away using the edge of a plastic gift card or scraper - never use metal tools, which can gouge acrylic.
- Wipe away any remaining film with a fresh soapy cloth, then rinse and dry.
Marker or Paint Overspray
Permanent marker and accidental paint mist bond aggressively and can bleed dyes if mishandled.
- Test first: Apply a single drop of mild soap solution to a hidden edge or underside; wait 30 seconds.
- If the marker ink lifts cleanly without color bleeding into the material, proceed in tiny 1-inch sections using the same dabbing method as for fingerprints.
- If the base color bleeds, the ink has penetrated too deeply - stop immediately and consult a professional restorer to avoid permanent damage.
- After removal, rinse and dry as above.
Critical Safety Rule
Always prioritize non-printed areas. Solvent exposure (even brief) can dissolve printed vinyl inks, causing graphics to smear, fade, or vanish entirely. If the mark overlaps printed zones, mask surrounding graphics with painter’s tape and use the mildest method possible - or call a specialist.
Common Mistakes That Ruin Signs
Even careful people slip up. Watch for these traps.
- Paper towels: Fibers scratch like fine sand.
- Ammonia cleaners: Cloud the surface in one pass.
- Dry buffing: Grinds grit deeper.
- High-pressure washers: Crack thin faces or blast off letters.
- Ignoring edges: Water creeps behind vinyl and bubbles it.
One rushed custodian once used steel wool on a lobby sign. The swirl marks glowed under LED lights for years.
Protecting Signs Between Cleanings
Prevention cuts cleaning time in half.
- Trim branches within ten feet to reduce sap.
- Angle sprinklers away from sign faces.
- Apply paste car wax to blank outdoor acrylic every six months; buff thin, skip printed sections.
- Install bird spikes on top edges of flat panels.
- Store spares flat, separated by cotton sheets, never stacked bare.
Small tweaks now save big scrubs later.
When Cleaning Is Not Enough
Some damage laughs at elbow grease. Recognize the red flags.
- Crazing: Tiny hairline cracks from UV or heat stress.
- Yellowing: Sun-baked edges that no polish fixes.
- Delamination: Vinyl lifting in sheets.
- Deep gouges: Catch a fingernail; time for replacement.
A fresh sign costs less than months of lost impact from a tired one.
Conclusion
Acrylic signs shine when treated with respect. The right cloth, mild soap, and a few minutes on the calendar keep them crystal clear for years. Skip harsh chemicals, dry rubbing, or high-pressure blasts, and the surface stays flawless. Regular care turns maintenance into a habit and the sign into a lasting asset. Clean smart, and the message stays loud long after the install crew packs up.
FAQs
What household cleaner is safe for acrylic signs?
Plain dish soap diluted in lukewarm water works best. Avoid anything with ammonia, bleach, or citrus.
Can pressure washers clean large acrylic signs?
Yes, but only on the lowest setting and from at least two feet away. High pressure cracks the material.
How often should outdoor acrylic signs be cleaned?
Rinse monthly and fully wash every three months, or sooner in dusty or coastal areas.
Is it okay to use alcohol on printed acrylic signs?
No. Alcohol dissolves inks and vinyl.