


Acrylic signs show up everywhere - cafes, retail, event setups, beauty studios. There’s a reason people go for them: they look sharp without trying too hard, and they’re easy to customize if you know what you’re doing. Doesn’t matter if you're laser-cutting logos or layering clear panels with paint - a few smart choices early on make the difference between “ok” and “damn, where’d you get that made?”
Why Choose Acrylic for Signage?
Acrylic just works. It's clean, versatile, and holds up without looking bulky or dated. You’ve probably walked past five acrylic signs today and didn’t even think twice - that’s kind of the point. It blends in when it needs to, and stands out when it should.
One of the biggest upsides? Flexibility. You can go fully transparent, soft frosted, neon loud, or mirrored and dramatic. It handles curves, layers, and sharp lettering without flinching. Whether you're going for that polished retail vibe or something more handmade and warm, it adapts without fighting your design.
It's also weirdly satisfying to work with. Lightweight but solid. Stays crisp under pressure. And if you're mounting it with standoffs or rope, or layering pieces with shadows and depth - it plays nice. No drama. Just solid, good-looking results that don’t crack or warp if you treat it right. And while it looks high-end, the material itself doesn’t demand a huge budget. That’s why it's all over pop-ups, cafes, weddings, and small storefronts - good design, simple tools, strong finish.
Tools and Materials You’ll Need
You don’t need a full-blown shop to make a solid acrylic sign, but a few key tools will save you time (and frustration). Here's what usually ends up on the table:
- Acrylic Sheets: Start with the finish you want - clear, frosted, mirrored, matte, fluorescent. Thickness depends on the vibe. Thinner (around 3mm) for layering, thicker (5mm+) if it's standing on its own or being drilled.
- Cutting Tools: If you're doing this by hand, a scoring knife works for basic cuts - but laser cutting or CNC routing is where the clean lines really happen. Especially for curves or tight letterforms.
- Vector Design Software: Illustrator, CorelDRAW, or Inkscape - something that gives you clean SVGs or DXF files. You'll want your design in vector format for precise cuts. Canva won’t cut it here.
- Vinyl or Paint (Optional): For lettering or graphics. Vinyl gives you that crisp finish. Paint adds texture if you’re leaning more handmade. Stencils help a lot if you're going the paint route.
- Transfer Tape: Sounds boring, is essential. Helps move vinyl designs onto the acrylic without messing up alignment.
- Acrylic Cement or Adhesive: SCIGRIP 3 if you’re being precise. Dries clear. Holds tight. A little goes a long way - don’t overdo it unless you want glue bleed on your edges.
- Mounting Hardware: Depends on how it’ll live - wall standoffs for that floating look, rope or chain for events, adhesive pads for no-drill zones. Sometimes easels or freestanding bases make more sense.
- Soft Cloth + Cleaner: Dust shows up fast on acrylic. Use microfiber and skip the harsh stuff. If you want it to stay looking fresh, treat it like glass.
![]()
DIY Isn’t for Everyone. These Are Our Ready-to-Go Acrylic Signs
At Signs and Mirrors, we design signs that look clean and hold up - whether they’re on the sidewalk, in a shop window, or packed up between events. Our full acrylic collection includes freestanding styles in mirrored, transparent, and opaque finishes, all cut and assembled by hand in New York. If you're after something portable, camera-friendly, or just built with care, it’s probably in there.
You’ll find real-life installs across our Instagram, where we post from shoots, shops, and client spaces. And if the idea of DIY feels like too much right now, these are a few acrylic pieces from our lineup that are ready to go or easy to personalize.
A Few Acrylic Standouts
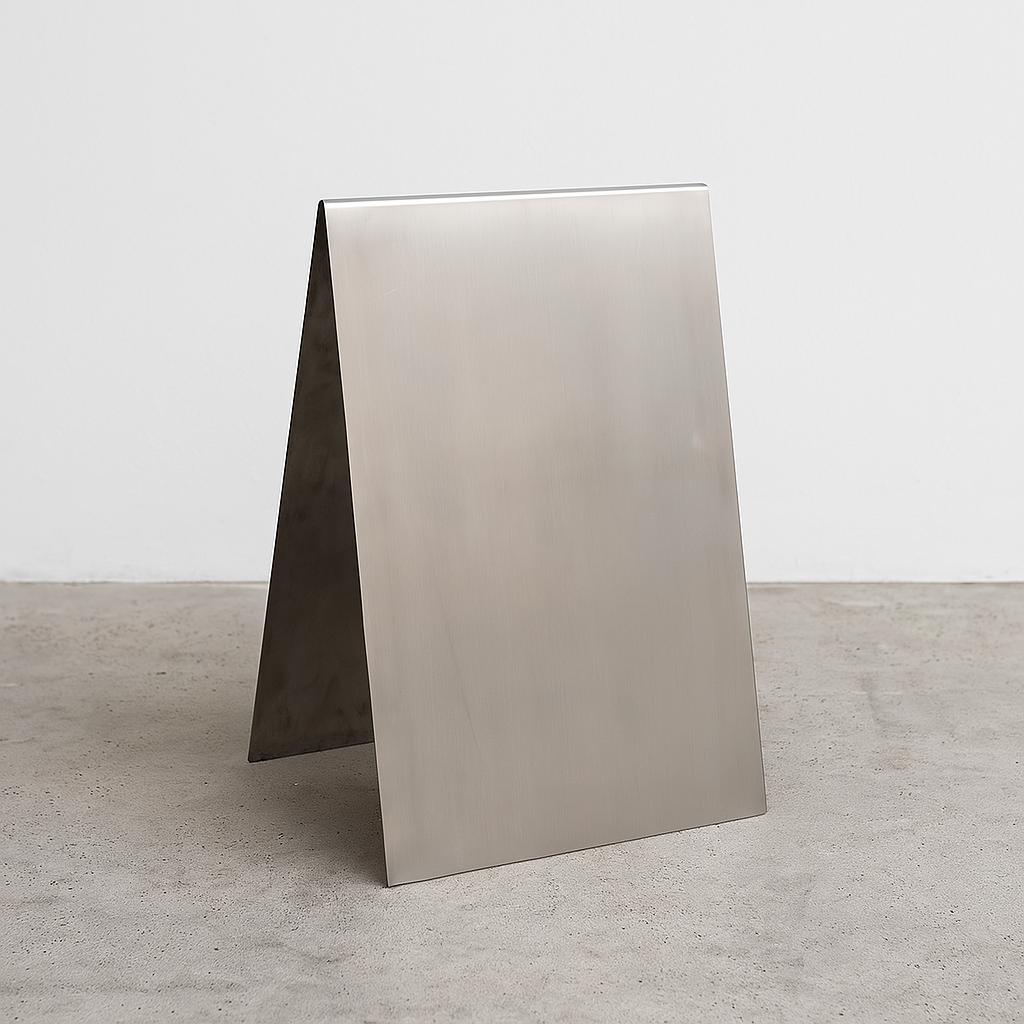
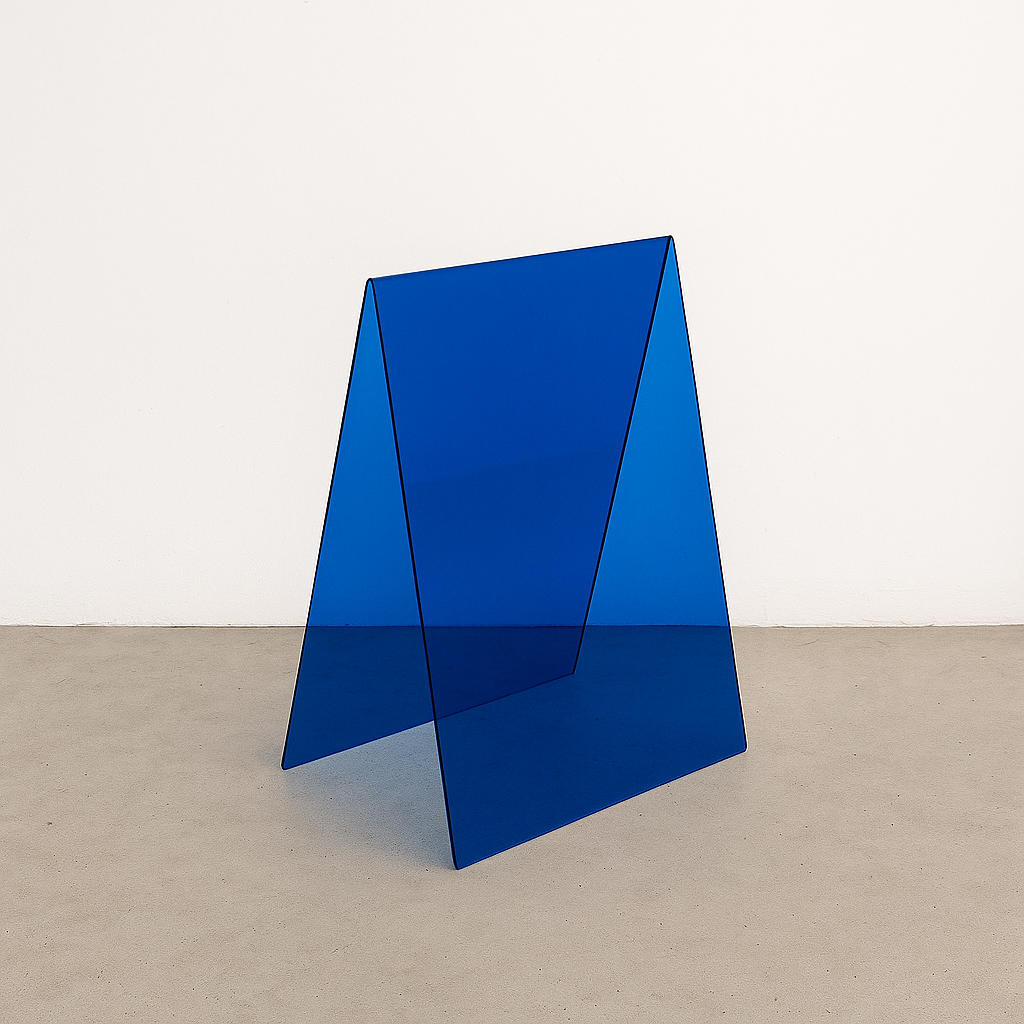
- #009 Transparent Acrylic A-Frame is made from a single sheet of acrylic, lightweight and available in multiple colors. It’s a solid choice for cafes, pop-ups, or storefronts where you want the background to show through.

- #010 Opaque Acrylic A-Frame has a bold, high-gloss surface on both sides and comes in black, white, ivory, pink, and more. It works well for menus, directional signage, or anywhere that needs to grab attention fast.

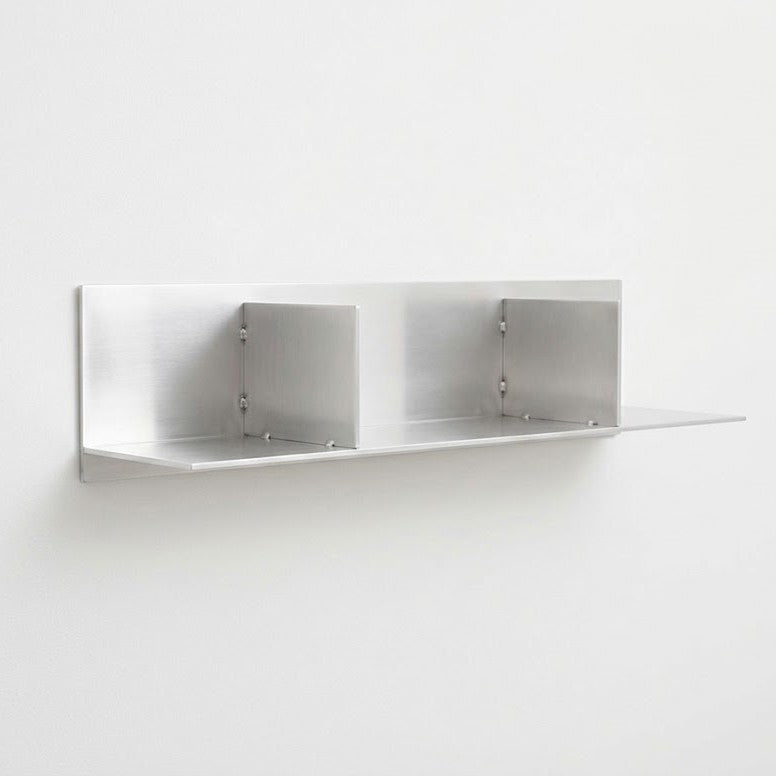
- #005 Mirrored Acrylic Sandwich Board is mirrored finish on both sides with a wood backing. People tend to stop and take photos - which makes it a quiet little marketing tool.
Step-by-Step Process to Make an Acrylic Sign
There are a lot of ways to work with acrylic, but if you’re aiming for a clean, durable sign that looks intentional - not like a school project - here’s the basic process we’d follow. You don’t need a factory setup, but a little planning upfront saves a lot of pain later.
1. Decide Where and How the Sign Will Be Used
Before touching any tools, figure out where the sign is going. Wall-mounted? Freestanding? Hanging from a beam at a pop-up market? That choice affects the thickness of the acrylic, how you'll mount it, and even the color or finish.
You’ll also want to measure the space. And not just in theory - actually go to the wall or sidewalk and eyeball it. Too small looks like an afterthought. Too big starts getting floppy unless it’s reinforced.
2. Choose the Acrylic
Acrylic sheets come in more finishes than most people expect. For signs, the usual suspects are:
- Transparent: Clean and modern. You’ll need high-contrast lettering if you want it readable.
- Opaque: Good for full coverage designs, works great with print or vinyl.
- Frosted: Soft, diffused look. Helps with legibility and hides fingerprints.
- Mirror: Photo-friendly and dramatic. Best indoors or in low-wind areas.
Pick a thickness that matches the purpose. We usually stick to 3mm-5mm for A-frames and wall signs - thick enough to feel solid, thin enough to keep weight down.
3. Design the Layout
Use vector design software like Illustrator, CorelDRAW, or Inkscape. Canva might be fine for Instagram posts, but for cutting machines, you’ll need vector files.
Some tips:
- Keep fonts legible, especially from a distance.
- Avoid overcrowding. Negative space is your friend.
- If you’re layering materials or doing a double-sided print, plan that in the file - not after the fact.
- Export as SVG or DXF for compatibility with cutting tools.
4. Cut and Shape the Acrylic
At home, a scoring knife can be used for straight cuts on acrylic sheets up to 3mm thick - make several passes and snap along the score line, but ensure the sheet is securely clamped to avoid uneven breaks. But honestly, if you're going for curves or cleaner results, you’ll want access to:
- Laser Cutter: Super precise. Great for sharp edges, letters, or engraving.
- CNC Router: Better for thicker materials and larger formats.
Keep the protective film on while cutting to avoid scratches. Clamp the sheet down or use tape - sliding during a cut is how good signs die.
5. Add Graphics or Paint
There are a few ways to get visuals on the acrylic:
- Vinyl Decals: Clean, bold, easy to position with transfer tape.
- Paint + Stencil: Gives texture and handmade character. Let each layer dry fully.
- Laser Engraving: Subtle and permanent. You can leave it as-is or fill with color after.
Quick note: if you’re applying vinyl, clean the surface with mild soap and water first. Dust or oil will mess with adhesion.
6. Assemble and Mount
If it’s a sandwich board or layered piece, now’s the time to glue it up or bolt it together. Use:
- Acrylic Cement (like SCIGRIP 3): Bonds the material chemically, dries clear.
- Standoffs or Screws: For mounting on walls.
- Chain, rope, or adhesive pads: For hanging or lightweight installs.
Dry-fit everything first. Always. Once the adhesive touches acrylic, there’s no undo button.
7. Clean It Up
Once assembled, peel the film, polish the edges (if needed), and wipe it down with a microfiber cloth. Avoid ammonia-based glass cleaners, as they can cloud or craze the acrylic surface; use mild soap and water instead.
If you’ve done it right, it should feel balanced, solid, and like it belongs wherever you’re putting it.
This isn’t a complicated process, but there are a few places where shortcuts can backfire - rushed cuts, dusty surfaces, crooked alignment. Take your time. A clean acrylic sign, even if it’s simple, always looks intentional when it’s done well.
Tips for Finishing and Maintenance
You don’t need a full routine to keep acrylic signs looking good - just a few thoughtful steps and some care when handling. Here’s how we finish and maintain our own pieces, and what we recommend if you want yours to stay clean, clear, and ready to use.
Don’t peel the film too early
The protective film on acrylic is there for a reason. Keep it on until the very end - after you’ve finished cutting, assembling, applying vinyl, or whatever else you’re doing. It protects the surface from fingerprints, dust, and random scratches you won’t notice until they’re baked in. Save the peel for last. It’s more satisfying that way.
Clean it gently
Acrylic scratches easier than it looks. Always use a soft microfiber cloth and skip the harsh sprays. Most glass cleaners are too aggressive and can cause cloudiness or fine surface damage. Stick with warm water, a little soap, and a gentle hand. If it’s extra dirty, rinse first to avoid grinding dust into the surface while wiping.
Be careful with storage
If you're storing or transporting multiple signs, don’t stack them directly on top of each other. Put a soft layer - even just a thin towel or piece of fabric - between them. Acrylic isn’t fragile, but it doesn’t like friction. That’s usually where small edge chips and hairline scratches come from.
Smooth the edges if needed
Laser-cut acrylic usually has clean, glossy edges, but if you’ve cut by hand or sanded manually, the edges might feel a little rough. You can clean them up with a fine sanding sponge or polish wheel. Some people use flame polishing, but unless you’re practiced, it’s easy to go too far and melt the edges unevenly. Better to keep it simple and consistent.
Protect it from heat
Acrylic holds its shape well but doesn’t love extreme heat or direct sun over long periods. If the sign is freestanding - like an A-frame - bring it inside after closing time. Warping is rare but possible, especially with thinner panels or mirrored finishes left out in hot weather.
Keep it dry when not in use
If the sign’s going into storage, make sure it’s dry before packing it up. Moisture can leave spots, or worse, seep between layers if you’ve bonded pieces together. A quick wipe-down before it goes into a case or box goes a long way in keeping it fresh-looking the next time you need it.
Conclusion
Making an acrylic sign isn’t complicated - but it does reward patience and a little planning. Get your dimensions right, don’t rush the design, and double-check the cut before you commit. The rest is just care and clean execution. Whether you’re printing a one-off welcome board or building signage for a full storefront, the charm of acrylic is how it balances simplicity with impact. Sharp lines, good materials, and a finish that actually lasts - it just works.
And if you hit a wall halfway through or decide DIY isn’t the move, that’s fine too. We make signs all day. Just send us the idea, and we’ll take it from there.
FAQ
What’s the best thickness for an acrylic sign?
For freestanding signs like A-frames, 5mm or more provides sufficient structure. Wall-mounted signs can use 3mm-5mm, depending on size and backing, to ensure stability
Can I cut acrylic at home without a laser cutter?
You can, but it has limits. A scoring knife works for straight cuts on thin sheets, but don’t expect smooth curves or tight shapes. If you’re doing logos or anything detailed, you’ll want access to a laser cutter or CNC router.
Does acrylic yellow over time?
High-quality cast acrylic resists yellowing well, especially indoors, while extruded acrylic may yellow over time even in indoor conditions. Outdoors, direct sunlight over a long stretch can cause some discoloration - more so with cheaper material. If you're worried about fading, stick with UV-stable sheets.
Can I use paint instead of vinyl for the graphics?
Yes, as long as you use the right kind. Acrylic paint works well, especially with stencils or engraved designs. Just be sure the surface is clean and dry first, and let each layer cure before applying the next.