


Acrylic wall signs have a quiet kind of precision - smooth edges, sharp reflections, and a finish that instantly feels intentional. But getting that result depends on how it’s installed. The placement, the surface, the hardware - they all matter. Some walls call for standoffs and anchors. Others are better suited to clean adhesive installs. Getting those details right is what keeps a sign straight, secure, and looking like it’s meant to be there.
Hanging Acrylic Signs: Do You Actually Need to Drill That Wall?
Before committing to holes, think about your space. Acrylic signage can be mounted in a few different ways - some permanent, some not. Standoffs give a clean, floating effect. Tape or adhesive pads are perfect for smaller, lighter signs in interiors. Larger, multi-layered pieces need wall anchors or screws for support.
If you’re hanging signage indoors, double-check the surface. Dust, texture, or humidity can affect how well adhesives hold. For exterior walls, metal hardware is the safer bet. And for mirrored acrylics, take extra care - fingerprints and glare tend to show up fast, so precision and clean handling make all the difference.
A short tool list usually does the job: a level, tape measure, drill or screwdriver, mounting hardware, and a microfiber cloth for cleanup. Installation doesn’t need to be complicated - it just needs to be deliberate.
![]()
Made to Stand Out, Built to Last - Signs and Mirrors Approach
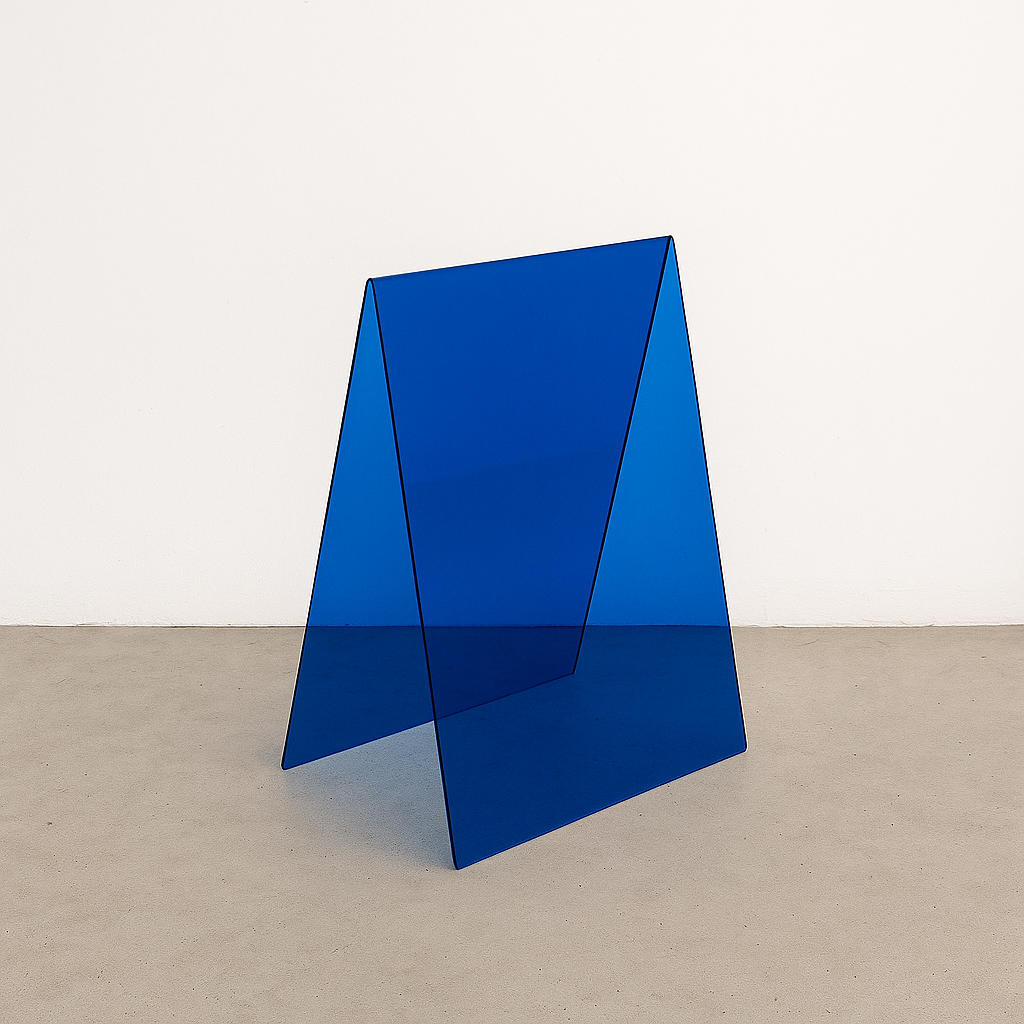
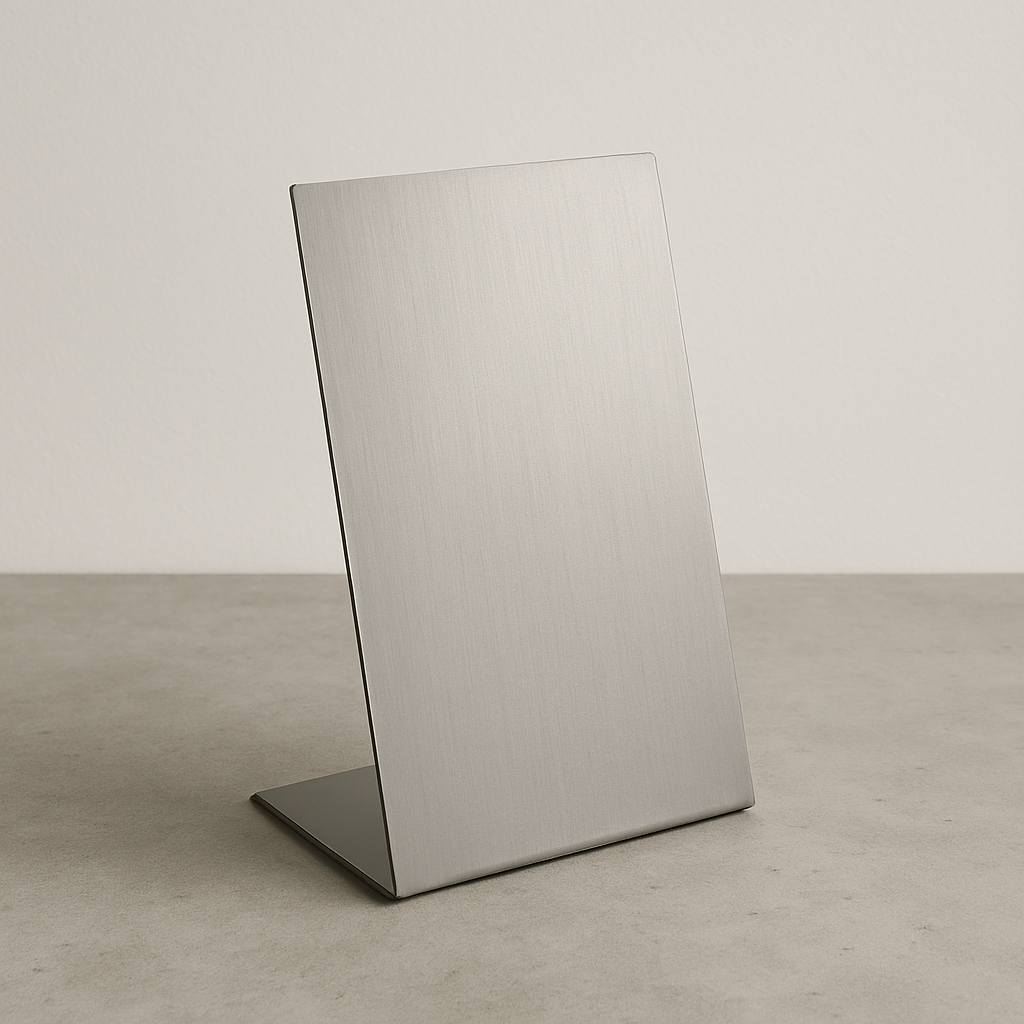
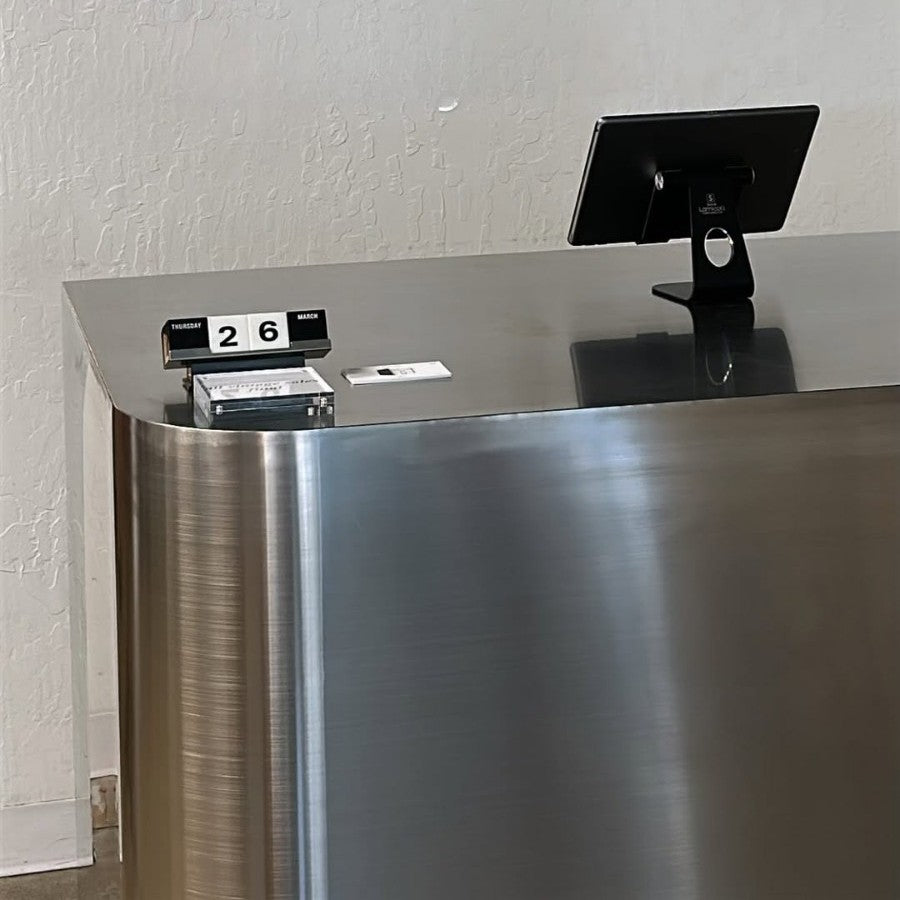
At Signs and Mirrors, most builds are freestanding by design - foldable acrylic A-frames and upright stainless pieces that move easily and don’t require wall drilling. That format fits how many clients work: pop-ups, seasonal windows, and storefronts that need a clean read and quick setup. For the rare cases where a hanging setup is needed, we keep it lightweight, tool-free, and surface-friendly.
A Simple Hanging Option
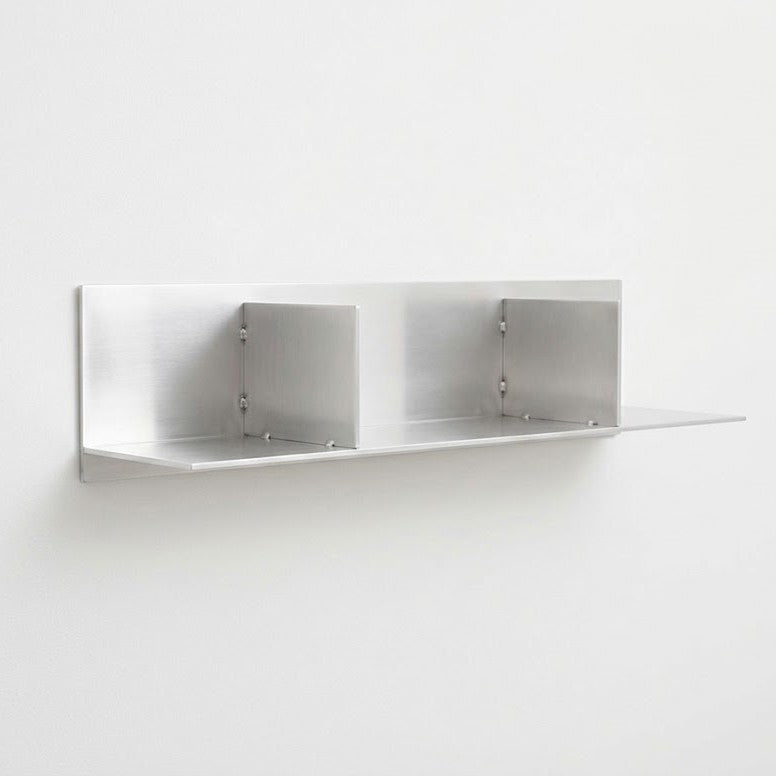
One of the easiest ways to hang an acrylic sign without touching the wall is with our Transparent Acrylic Clothing Rack Sign Clip. It’s made to suspend a small acrylic panel from a rack or bar - no screws, no tape. We’ve seen it used everywhere from retail launch days to museum shops where signage shifts seasonally.

A Standing Option That Handles Daily Use
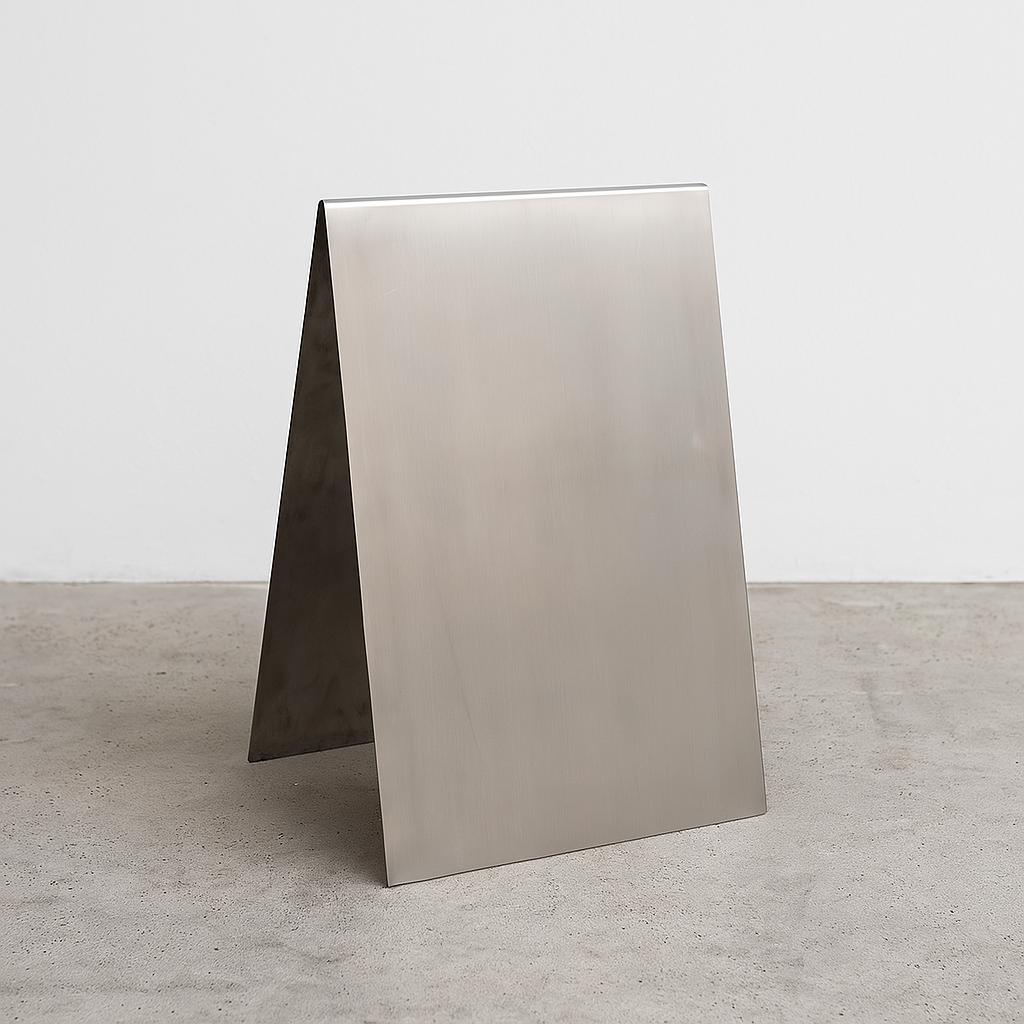
For clients looking for a more permanent-feeling option that still avoids wall hardware, the Opaque Acrylic A-Frame Sign offers a high-gloss surface and minimal footprint. It’s crafted from a single sheet of acrylic and available in multiple sizes and colors. Bold enough to hold its own on a sidewalk, but light enough to move as needed.
Finishes in the collection include mirrored, transparent, and opaque acrylic, as well as brushed or polished metal. Everything’s built to look sharp under real light, not just in a product photo. You can see how the materials behave out in the wild on our Instagram: coffee shop installs, gallery settings, storefronts mid-rebuild - all real-world shots, no mockups. It's a good way to preview what a finish or scale will feel like before you hang anything up.
Straight, Secure, and Still Looking Good: How to Hang Your Acrylic Sign
Hanging an acrylic wall sign isn’t complicated, but a clean install takes patience. It’s all about surface prep, alignment, and the right choice of hardware. Acrylic shows everything - light, reflections, even tiny misalignments - so the details matter.
Below are a few simple steps to help you hang a sign that stays level, secure, and looks intentional.
1. Choose the Right Spot
Find a section of wall that’s flat, visible, and evenly lit. Acrylic signs reflect light, so pay attention to nearby windows and fixtures. Avoid textured or uneven surfaces; adhesives and standoffs both need stability to stay true.
Quick checklist:
- Is the surface smooth and clean?
- Will sunlight or reflections hit it directly?
- Is the wall level and solid enough for hardware?
2. Measure and Mark Carefully
Use a tape measure, level, and pencil to mark where the sign will sit. Most acrylic signs hang best at eye level, so step back a few times to check how it feels in the space. If your sign came with a paper template or stencil, tape it up - it’ll keep your spacing consistent and your holes lined up.
3. Match the Mounting to the Sign
Not every acrylic sign hangs the same way. The weight, size, and even the finish all play a part in how it should be mounted. Lighter pieces can sit flush with adhesive, while larger ones need proper anchors or standoffs to keep them secure and level.
- For small, lightweight wall signs:Use strong double-sided adhesive (3M VHB or similar). Start with light pressure so you can adjust, then press firmly once everything’s straight.
- For medium to large signs: Drill into the marked points and install wall anchors or screws. Use pre-drilled holes on the sign if available. Tighten just enough to hold it - too much pressure can crack the acrylic.
- For a clean, floating look: Use standoffs or distance holders. They lift the sign slightly off the wall, creating a soft shadow and a more dimensional finish.
4. Step Back Before You Commit
Before securing the last screw or pressing the final edge of tape, pause. Look at the sign from a few angles and at eye level. Acrylic catches light differently depending on how it sits. Adjust while you can - fixing a crooked sign after mounting is never fun.
5. Finishing Touches
Once everything’s up, peel off any protective film and give the surface a quick wipe with a microfiber cloth. Avoid paper towels or strong cleaners; they can dull the finish. A soft microfiber cloth and mild soap with water are recommended; avoid ammonia-based glass cleaners, as they can cloud or craze the acrylic surface.
Indoor vs Outdoor Mounting
Acrylic signs behave differently depending on where they’re installed. The material is versatile, but the way it’s mounted - and how long it stays looking clean - depends on the environment. A wall in a quiet studio isn’t the same as one facing street traffic and weather.
Indoors: Controlled, but Worth Doing Right
Indoors, you’ve got the advantage of stable light, no wind, and a smooth surface to work with. Double-sided tape or clean adhesive pads often do the job perfectly for small to medium acrylic wall signs. Just make sure the wall is dry, even, and dust-free before pressing the sign in place.
For larger or layered signs, standoffs give a professional look and help with balance. They also make the sign easier to remove later if you ever update branding or need to clean behind it.
Reflections are another small detail that matters indoors - mirrored acrylic looks sharp, but glare from lighting or windows can shift how it reads. Sometimes sliding the placement an inch or two changes the whole effect.
Outdoors: Weather Means Planning Ahead
Outdoor walls ask more of the hardware. Sun, temperature changes, and moisture can significantly reduce adhesive performance, so outdoor acrylic signs should use weather-rated adhesives or mechanical fasteners like anchors or standoffs. For that reason, outdoor acrylic signs should be mounted with anchors or standoffs rated for exterior use.
When mounting outside, use stainless steel or aluminum fittings - they won’t rust or stain the surface. If the sign sits under direct sun, a matte or brushed acrylic finish helps hide dust and small scratches. For mirrored or transparent panels, back them with a solid base to keep the reflection crisp and avoid warping.
Acrylic holds up well outdoors, but strong mounting and the right spacing keep it secure through seasons. The goal is to make the sign look effortless, even when it’s standing up to real weather.
Finishes and Light
Finish matters as much as the mounting. Mirrored and high-gloss acrylic reflect everything nearby, while opaque or frosted versions stay subtle and even-toned. Outdoors, mirrored pieces catch more light but show wear faster; indoors, they add depth and dimension when positioned thoughtfully under soft light.
No matter where the sign goes, a few minutes spent on placement - checking angles, reflection, and surface texture - makes all the difference once it’s on the wall.
What Usually Goes Wrong (and How to Avoid It)
Hanging an acrylic sign seems easy until it shifts, cracks, or tilts just enough to catch your eye every time you walk by. Most mistakes aren’t huge - they’re just small things missed during setup. Here’s what tends to go wrong, and how to keep the install looking clean and balanced from the start.
Overtightening hardware
Acrylic doesn’t flex like wood or metal. Once you feel resistance, stop turning. Too much pressure can cause small stress cracks that only show up later under light.
Ignoring the wall surface
Adhesive won’t hold on dust, moisture, or uneven paint. Standoffs won’t sit flush on bumpy plaster. Take a minute to wipe the wall clean, check for level, and make sure you’re not mounting onto a texture that will fight the hardware.
Skipping a template or guide
Even if it’s a small sign, guesswork leads to crooked spacing or off-center alignment. A paper template or masking tape line helps lock in symmetry - especially important when drilling through acrylic.
Pressing too early
With tape or pads, alignment happens before pressure. Lightly touch the sign to the wall first, step back, adjust, then commit once it’s level. Once that adhesive grabs, it’s not forgiving.
Using the wrong mount for the weight
Adhesives are fine for thin wall plaques and small logos. Anything layered, backed, or oversized needs anchors or standoffs. It’s better to drill once than fix a fallen panel later.
Forgetting the protective film
Most signs ship covered in a thin film that guards the face during handling. Leave it on through installation, then peel it off once everything’s in place. You’ll thank yourself when you see a scratch-free finish.
It’s small details like these that separate a quick job from one that actually feels finished. A few extra minutes of setup can save you from patching holes, remounting corners, or explaining why your sign’s sitting at a three-degree tilt.
Conclusion
Acrylic wall signs are all about balance - crisp lines, soft reflections, and the feeling that they’re part of the space, not just attached to it. The hanging process doesn’t need to be complicated, but it does need to be careful. Measure twice, prep the wall, and handle the material gently.
Once the sign’s up, it should feel effortless - like it was meant to live there. That’s when you know it’s done right.
FAQ
Can I hang an acrylic sign without drilling?
Yes, if the wall is flat and the sign is light. Double-sided tape or strong adhesive pads work well indoors. Just clean the surface first and press firmly once aligned.
What’s the ideal height for a wall-mounted sign?
Aim for eye level. In offices or retail spaces, the center of the sign should sit roughly between 55-65 inches from the floor - high enough to be readable but not towering.
Does sunlight affect acrylic over time?
High-quality cast acrylic resists UV degradation well, but extruded acrylic or certain finishes may slowly dull or yellow under prolonged UV exposure. Mirrored and opaque signs last longest when not in direct sun all day.
Can mirrored acrylic be used outside?
Yes, but only with reinforced backing and weather-safe hardware. Mirrored acrylic can flex slightly with temperature changes, so support it evenly when mounting.
What’s the safest way to clean an acrylic wall sign?
Use a soft microfiber cloth and mild cleaner - nothing abrasive. Avoid paper towels or ammonia sprays, which can cloud or scratch the surface.
What if my wall isn’t perfectly smooth?
Tape and adhesives won’t hold well on textured paint or rough plaster. Go for standoffs instead; they keep the sign stable and let it “float” slightly above the surface.
Can I move or reuse a mounted acrylic sign?
Yes, as long as you remove it carefully. Hardware like standoffs can be reused; adhesive-mounted signs just need fresh tape or pads before reapplying.